Why Your Outdoor Landscape Lighting Photos Suck.
You do beautiful work. Thoughtfully designed, professionally installed, and when that system fires up for the first time and the homeowner sees their property transformed, there's nothing quite like it. But then you try to photograph it, and the image on your phone looks nothing like what's standing in front of you.
You're not imagining it. Low light photography is genuinely one of the most technically challenging things to get right, and a phone camera, even a good one, has real limitations when the sun goes down. But here's what I want you to hear: the problem is solvable, and the payoff is worth it. Great lighting photography is some of the most compelling content a contractor in this space can put in front of a prospective customer. It stops the scroll, it builds trust, and it helps people picture exactly what you could do for their property.
Here's what's working against you and how to fix it.
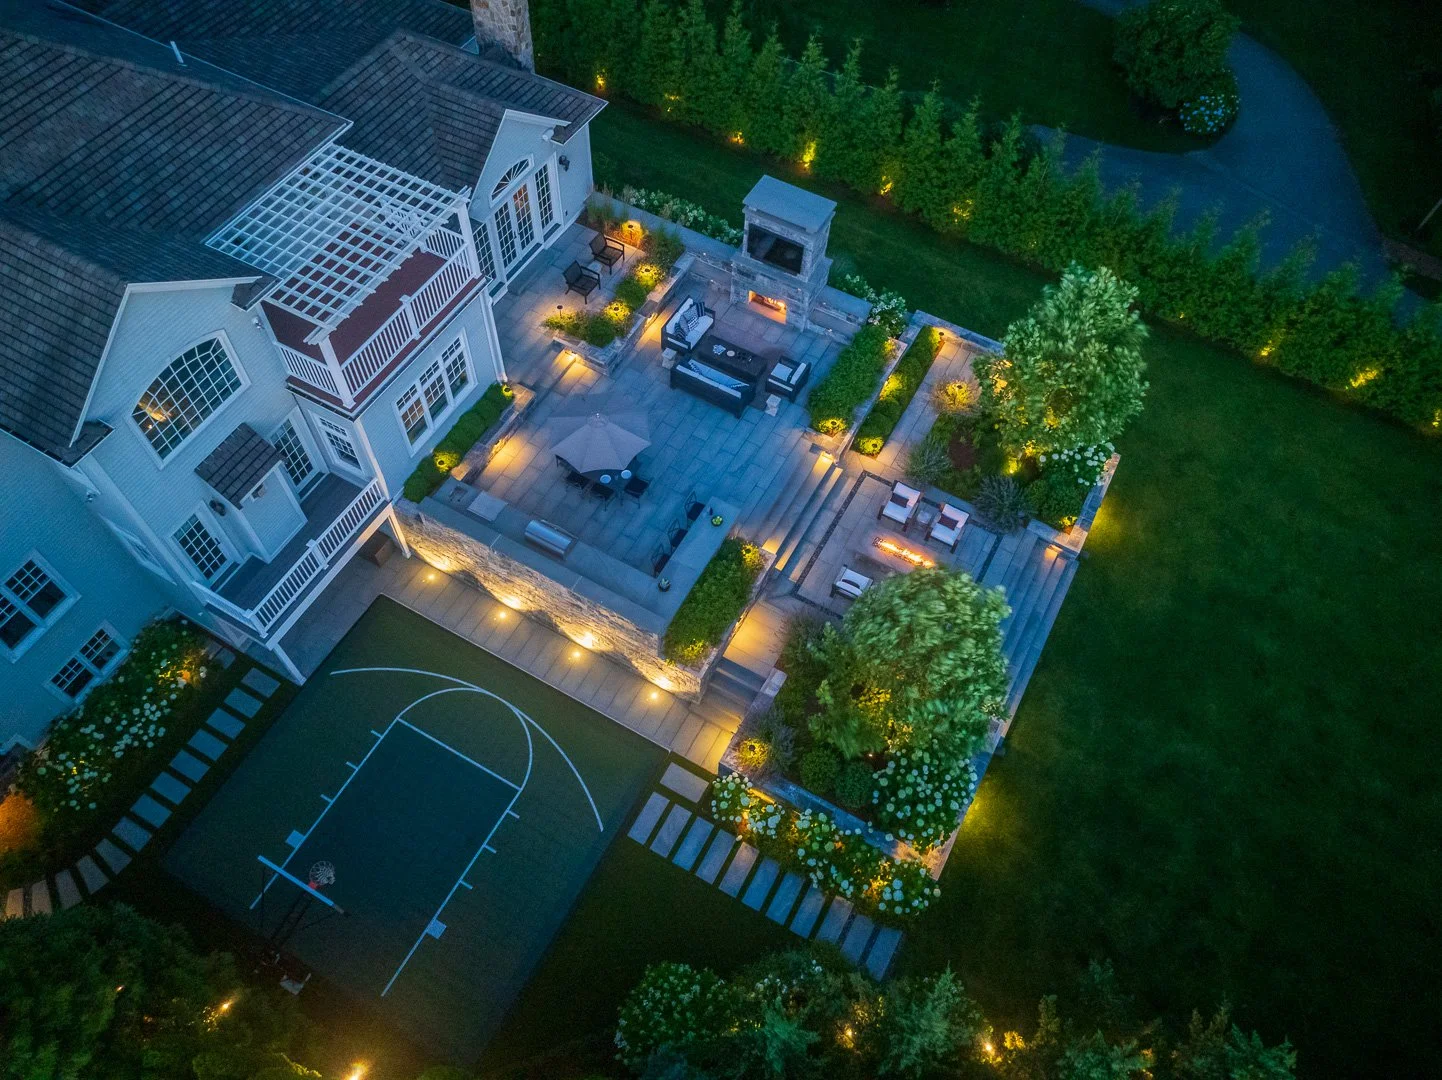
Capturing night lighting shots is one of the more technically challenging aspects of landscaping photography.
Gear Matters (for once).
The core challenge with low light photography comes down to physics. When there isn't much light available, your camera has to compensate by leaving the shutter open longer to gather enough light to make a proper exposure. That means any movement during that exposure, even the slight tremor of a hand holding a phone, translates directly into a blurry image.
The fix is a tripod. This is the single most impactful thing you can do to improve your lighting photography, and it applies whether you're shooting with a phone or a professional camera. A steady camera in low light is the difference between a blurry snapshot and a sharp, professional image. There are great affordable options for both phones and DSLRs, and it's one of the best investments you can make in your marketing.
In short, the right gear can make all the difference in how your landscape lighting image turns out. Get a solid set of sticks (tripod) and a camera capable of low light conditions. The rest comes down to the right settings, timing and composition.
Want Those Starburst Effects? Stop Down Your Aperture.
If you've ever looked at a professional outdoor lighting photo and noticed those crisp, dramatic starburst effects radiating from the light fixtures, that's not luck and it's not editing. It's aperture. Shooting at a smaller aperture opening, aim for f/8 to f/11, creates that starburst effect on point light sources like path lights and wall fixtures. It also gives you sharper, crisper images overall. Combined with your tripod and a slow shutter speed, this is how you get images that look like they belong in a portfolio, because they do.
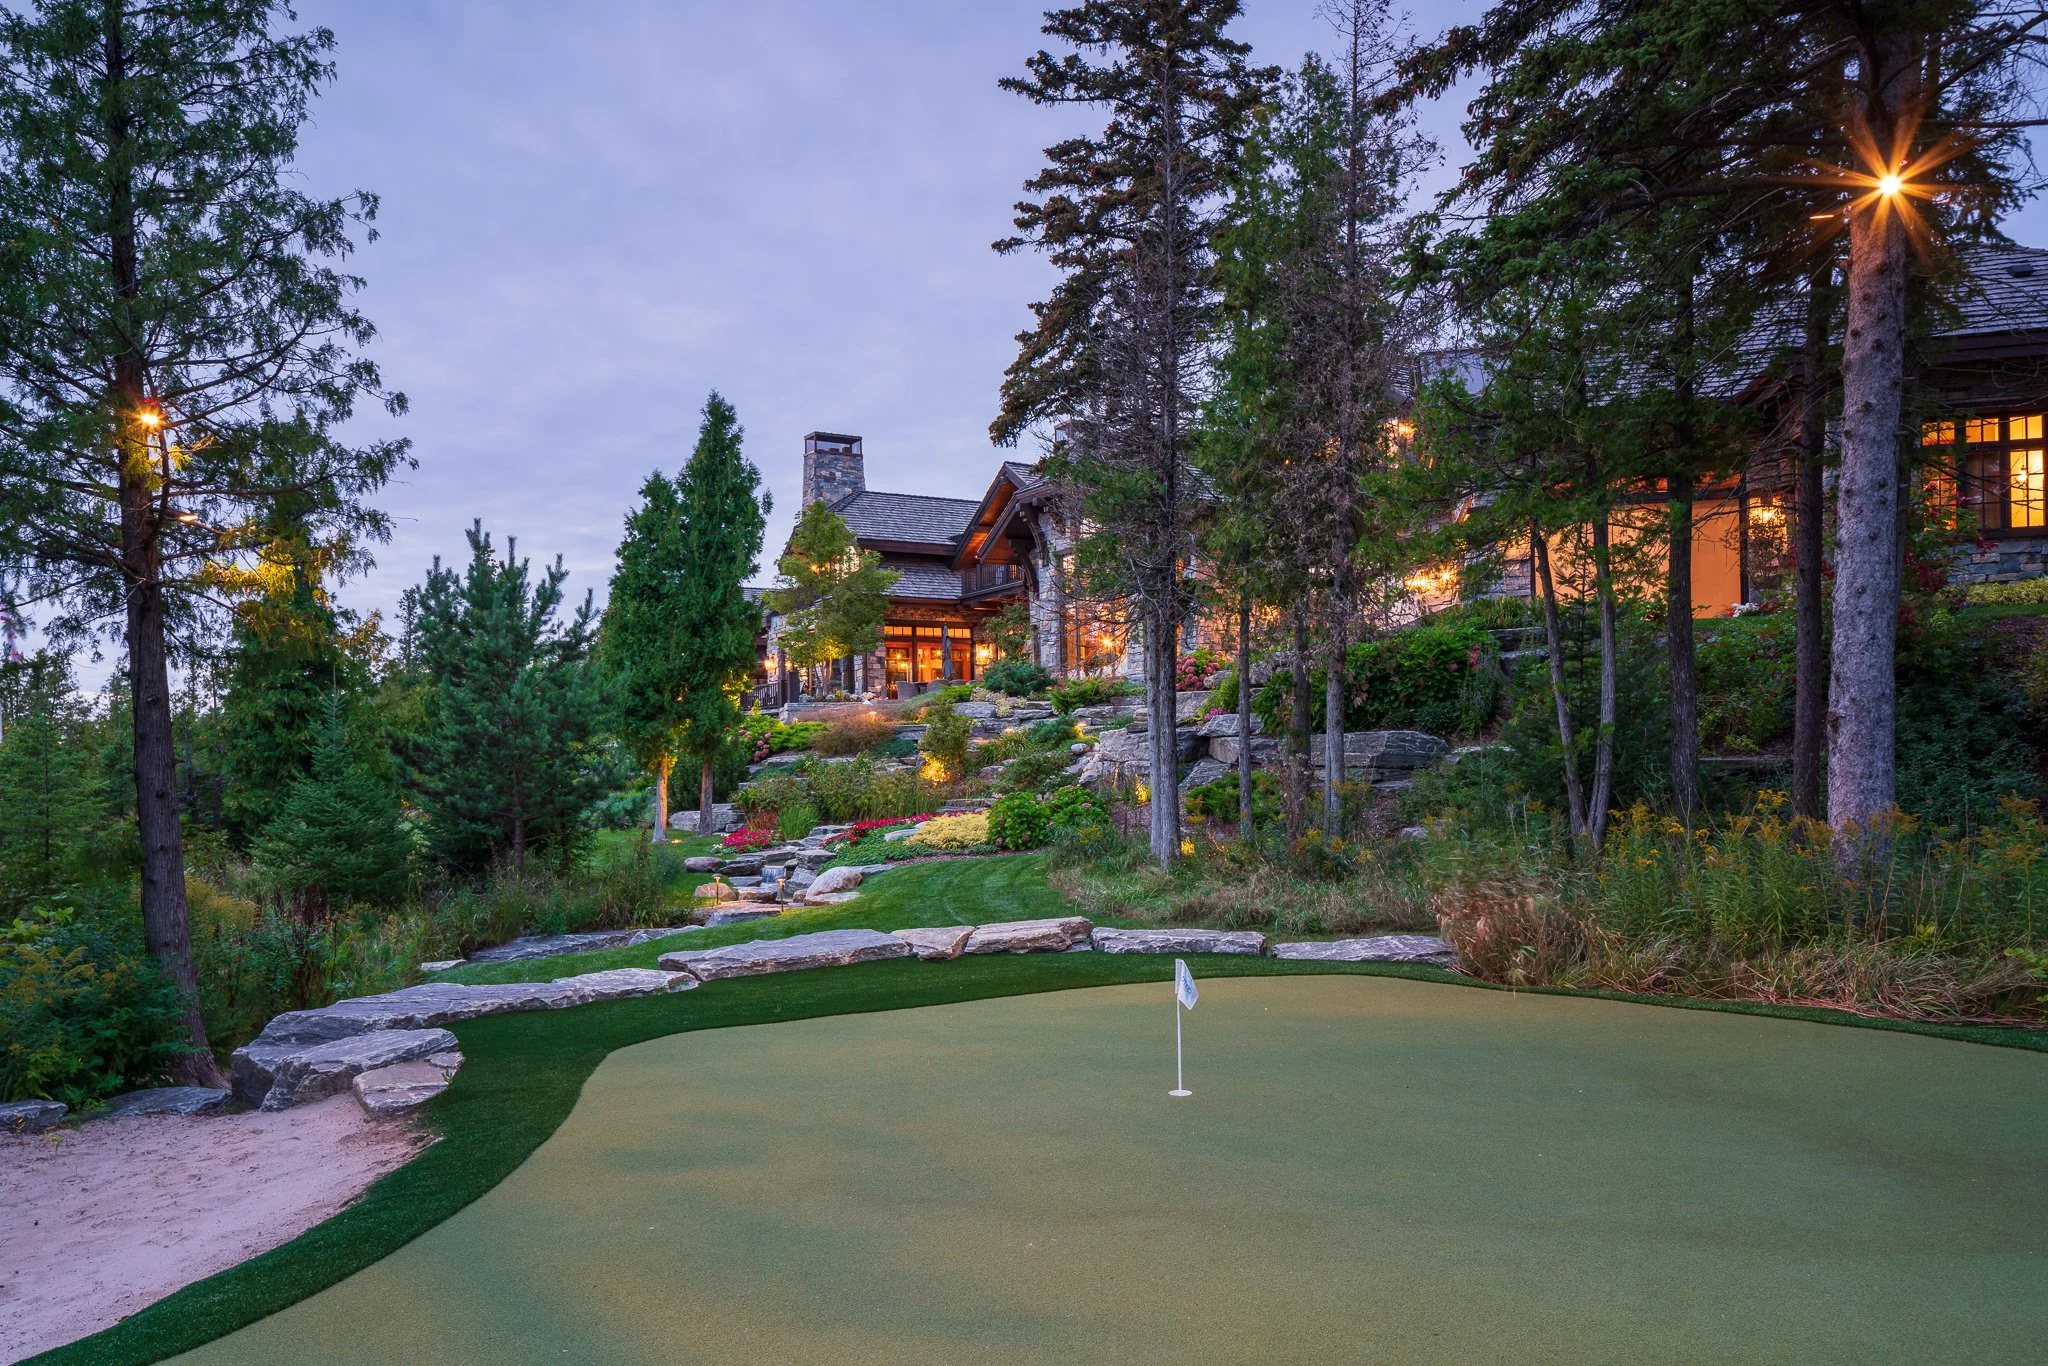
The right camera settings can really show your lighting in a captivating way. This particular image was shot for around 3 seconds at f/9. I used a tripod because holding the camera by hand would not produce a very sharp image.
Don't Wait for Full Dark
This is the tip that surprises most contractors. The instinct is to wait until it's completely dark outside before photographing a lighting installation. The result is usually an image where the surrounding landscape disappear into the background and the contrast is so great that the image has crunchy shadows in some areas and blown out bright highlights in others.

The sun has set but there’s still enough detail to make out unlit features of the landscape. Also note that the house lights don’t look so bright that they don’t over blow the highlights, either. This moment comes and goes fast, so be ready to go beforehand so you don’t miss the shot.
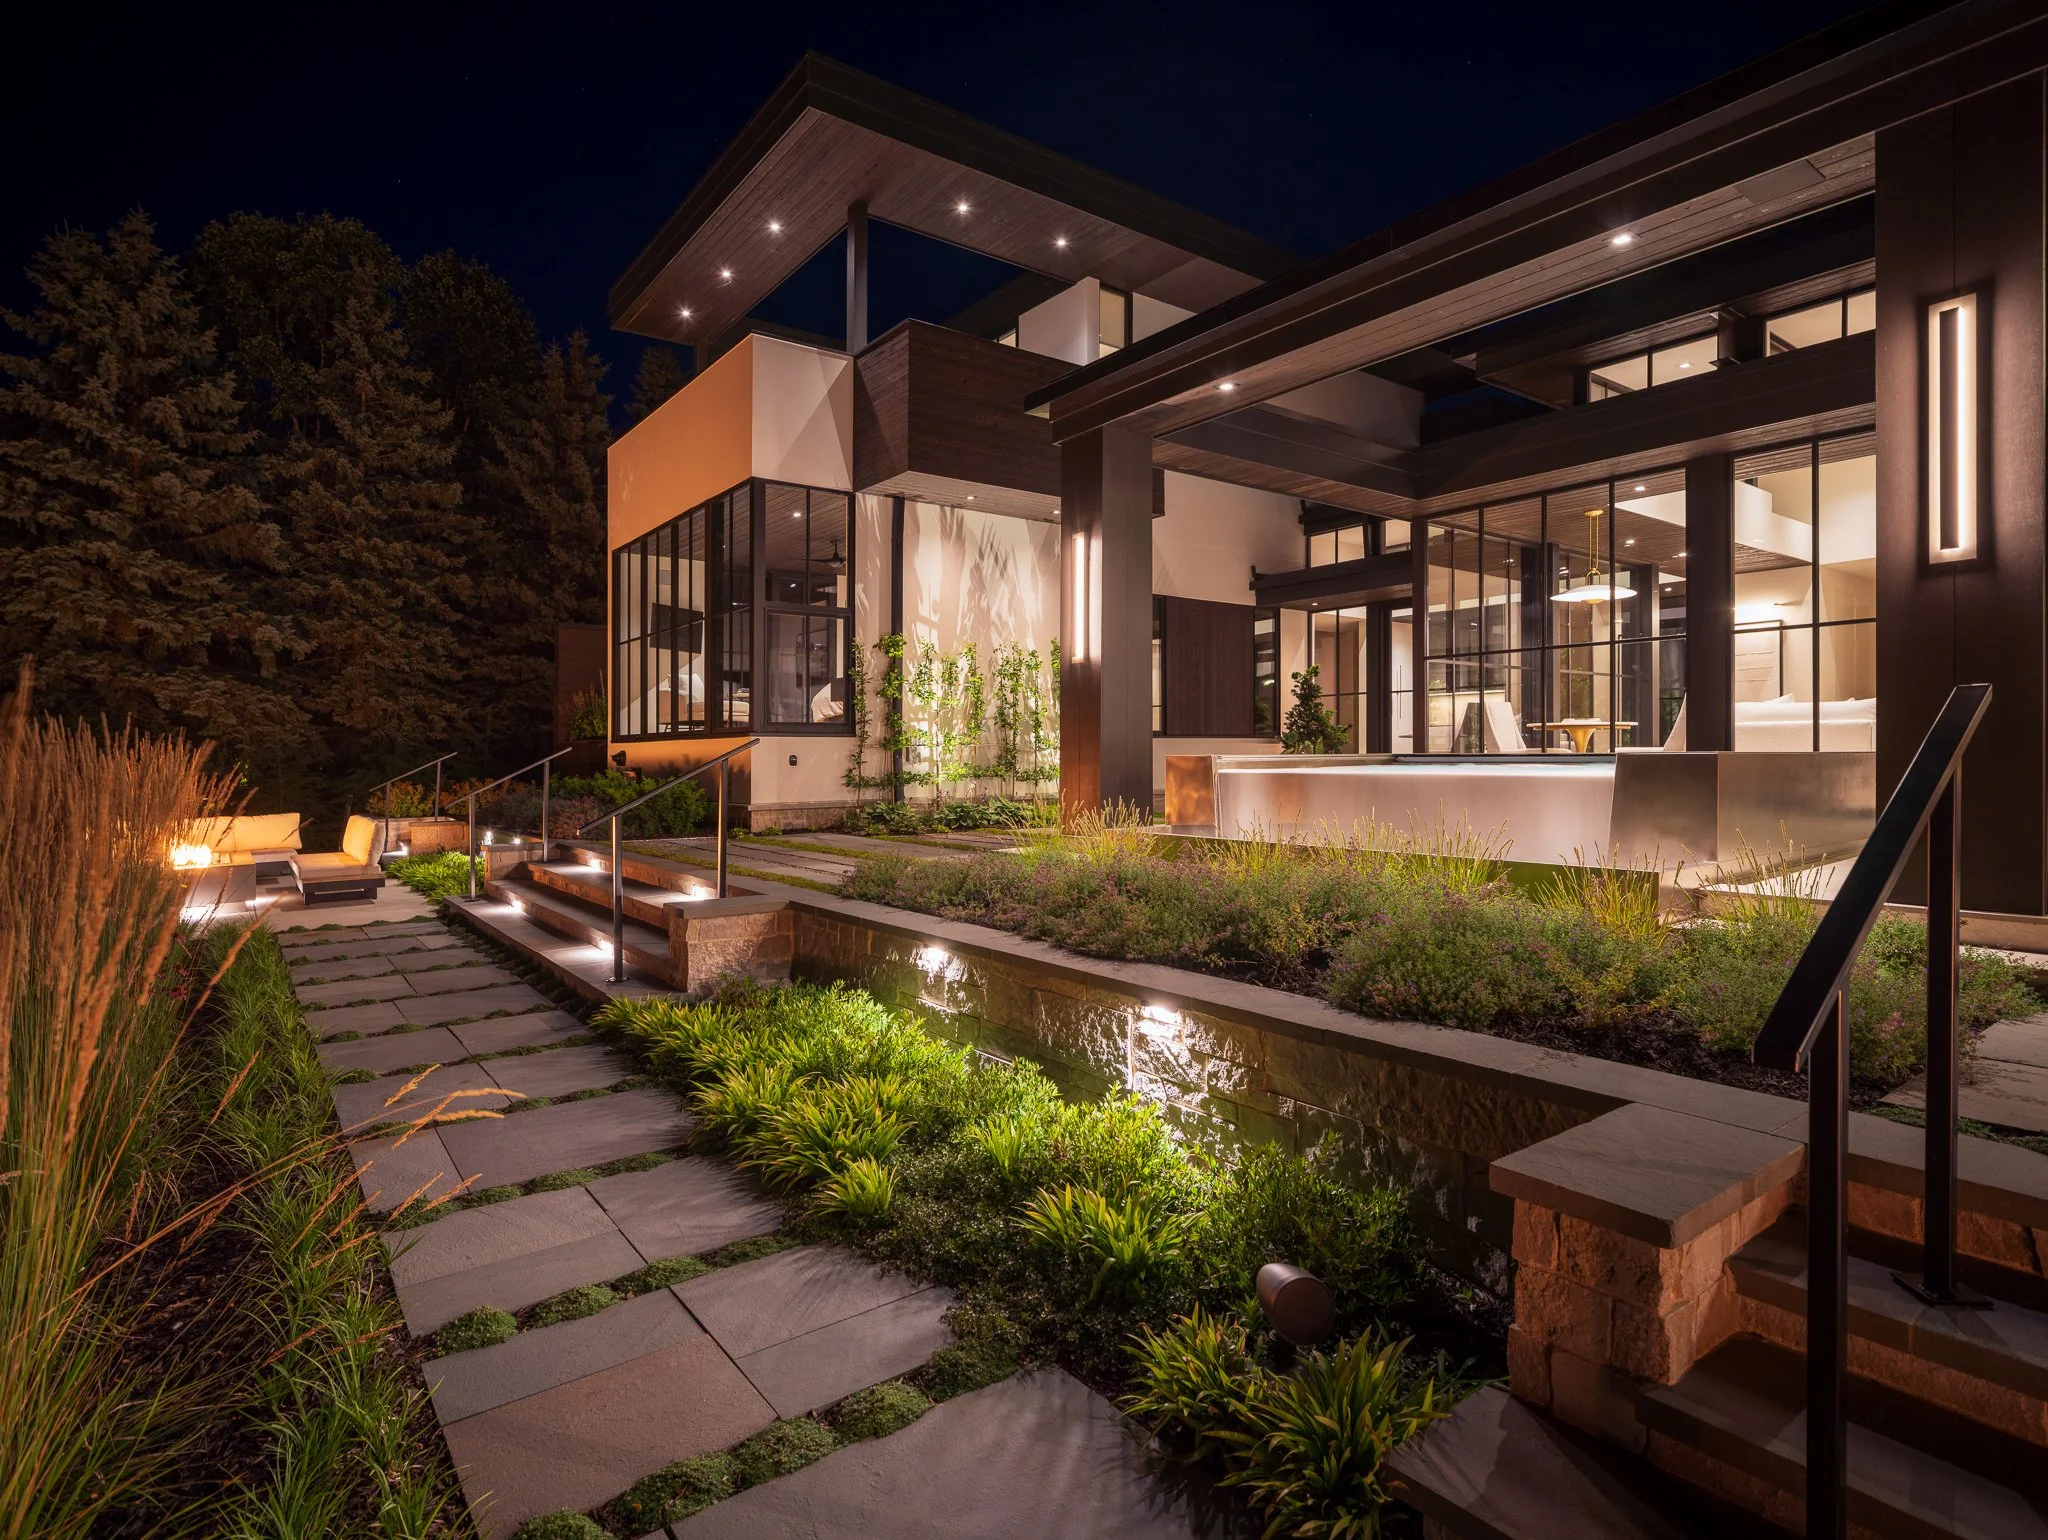
The sweet spot is twilight, just after sunset when the sky still holds some residual light. At that moment you can capture the landscape, the architecture of the home, and the lighting system all in the same frame. Nothing goes completely dark, nothing blows out. It's a richer, more complete image, and it tells a much better story for a homeowner trying to visualize what a lighting installation would look like on their own property.
That said, if you want actual stars visible in the frame or a moodier, darker look, you'll need to wait for full dark, well after sunset. Both approaches can work but you need to weigh the pros and cons behind the images and know the capabilities of your gear. Finally, the key is knowing what story you want to tell before you set up the shot. Experiment and see what you like the best.
Composition: Think About the Shot Before You Take It
When you're on a job site earlier in the day, take a few minutes to shoot your hero images during golden hour, that warm window of light just before sunset. Then when the lighting system fires up, go back to the same general spot and take the same shot. What you end up with is a natural before and after that gives prospective customers real context. They can see the property in daylight and then see how the lighting transforms it at night. That's a powerful selling tool that most contractors never think to create.
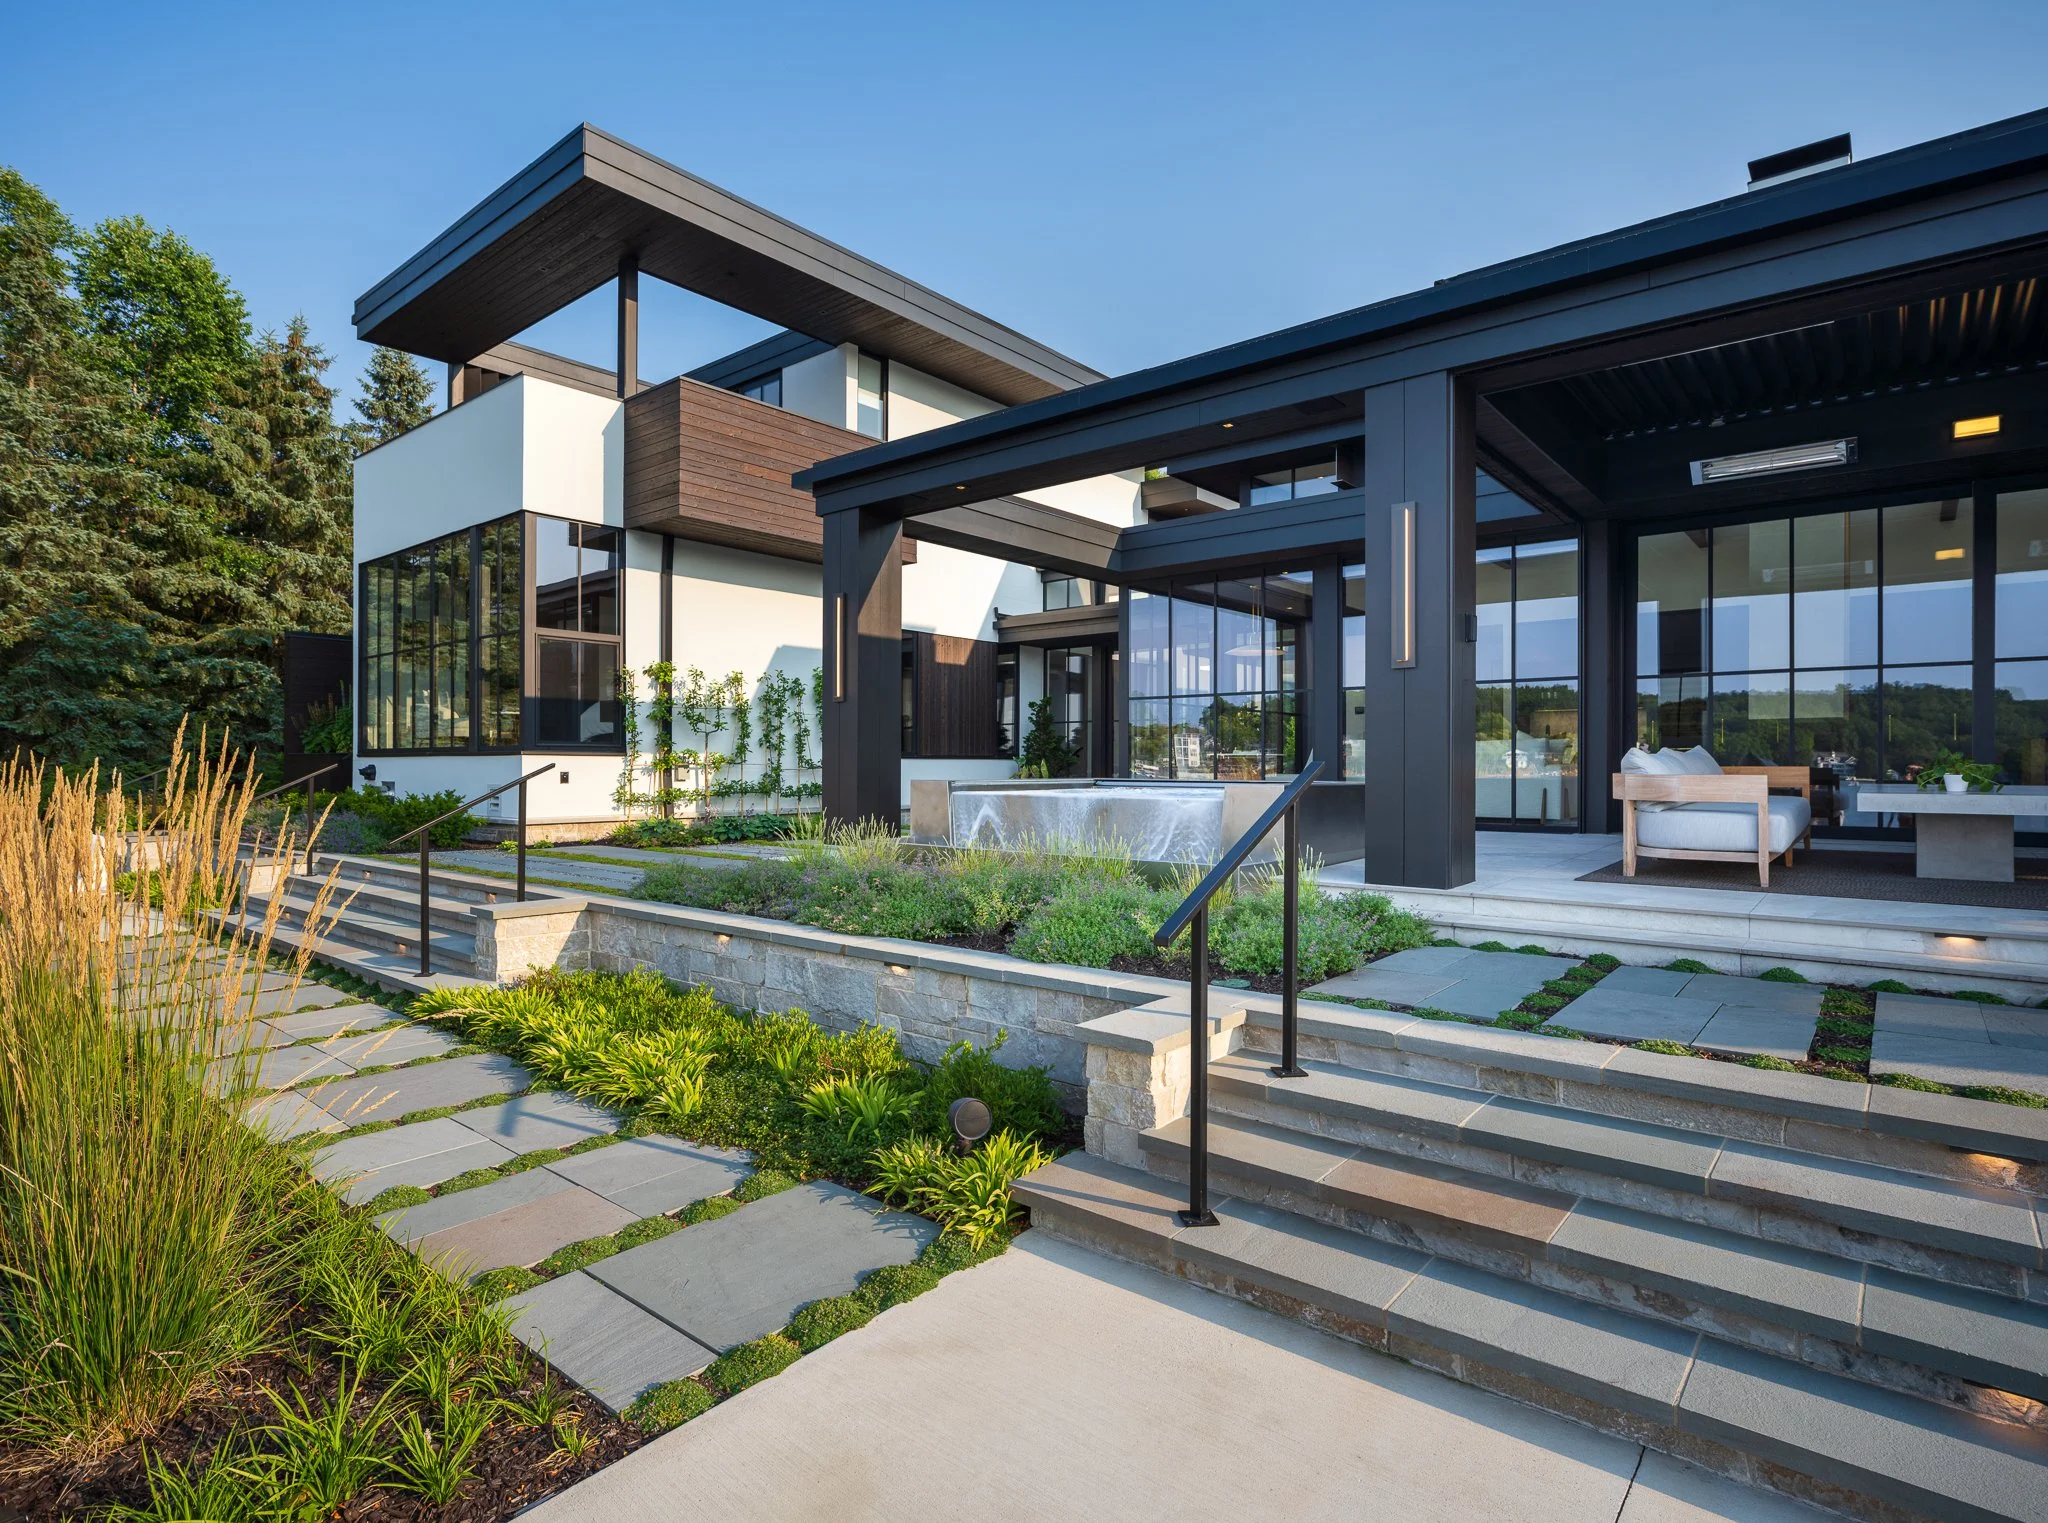
The lighting is on but we can’t see its effects…yet.
Imagine this same space if it didn’t have outdoor lighting. It would be dramatic, but not in a very good way.
Show a comparison from light to day and your customer will understand the value of quality landscape lighting.
While you're at it, shoot detail images of the fixtures themselves, both during the day and at night when they're illuminated. These close-up shots communicate craftsmanship and help justify the investment in high-quality fixtures to a customer who might be sticker shocked by the proposal.
Pro tip before you start shooting: grab a rag and spend five minutes wiping down the fixtures that are most visible in your shots. Spider webs, grass clippings, and dust are surprisingly distracting in a close-up image, and they cheapen the look of an otherwise beautiful installation. Trust me, I’ve learned from experience that it’s faster to wipe them down on site than to clean them up in post processing later.
The Images Your Sales Team Actually Needs
A well-executed lighting photo does three things for your business. It captures attention in a crowded social feed. It shows the quality and craftsmanship behind your work in a way that words simply can't. And it helps a prospective customer picture themselves as your client, sitting on their patio or pulling into their driveway and experiencing exactly what you built.
That's not a small thing. That's your sales process working while you're not in the room. Show a client a beautiful outdoor lighting image and they won’t unsee it. This subconsciously creates desire that will fuel the emotions necessary to make an over-the-top purchase such as outdoor lighting.
Need more help with landscape photography images? I made a FREE guide to help with just that:
https://www.chrismimages.com/photography-guide-5-tips-for-landscape-photography-that-win-clients